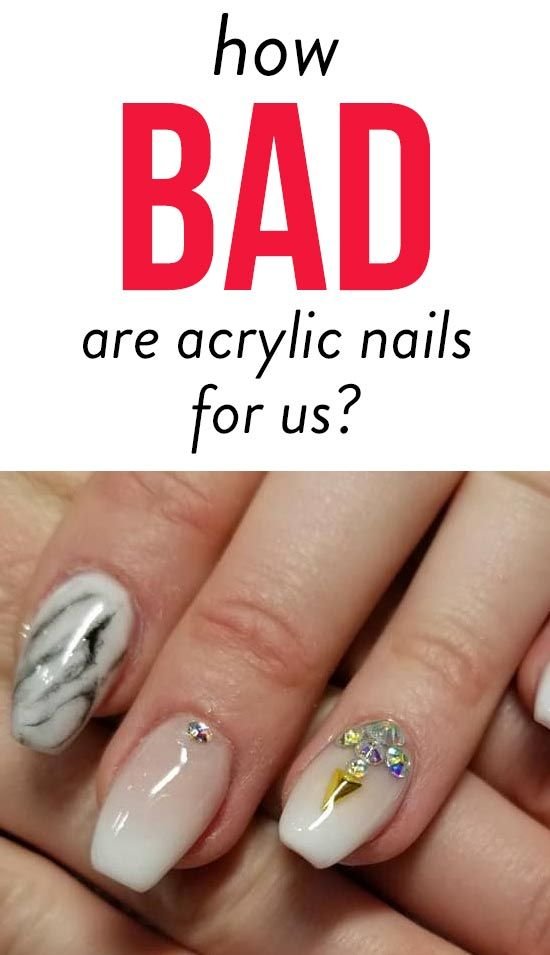
Taking off a set of acrylic nails can be a double-edged sword. While you might be ready for a break, the moment you look down at your natural nails, the panic sets in. They are thin, peeling, and painfully weak.
If you are dealing with damaged nails right now, do not worry—you are not alone. The good news is that your nails are not permanently ruined; they just need some intensive TLC. Learning how to strengthen weak nails after acrylics requires patience and the right routine.
Here is exactly how to repair your natural nails and get them back to healthy, strong, and long.
Why Do Acrylics Damage Your Natural Nails?

Before fixing the problem, it helps to understand why it happens. The damage usually comes from two places:
- The Filing Process: When a nail tech applies acrylics, they use a heavy-duty electric file (e-drill) to rough up your natural nail. This removes the top protective layer of your nail plate.
- Improper Removal: Peeling, picking, or ripping off acrylics takes layers of your natural nail right off with it.
Because the protective barrier is gone, your nails lose moisture rapidly, causing them to become brittle, split, and break.
Step 1: Give Your Nails a Complete Break

The biggest mistake people make is rushing to get another set of acrylics or dip powder the moment their nails look “ugly.” You must give your natural nails at least 3 to 4 weeks to breathe and recover without any harsh chemicals.
Pro Tip: If you still want your hands to look nice while recovering, try using press-on nails with adhesive tabs. They cause zero damage and look incredibly natural.
Step 2: Keep Them Short and Filed

Weak, damaged nails will snag on fabrics and break easily if you leave them long.
- Use a soft glass nail file (avoid traditional emery boards, as they cause microscopic tears).
- File your nails down to a short, practical length.
- Always file in one direction—sawing back and forth splits the nail layers further.
Step 3: Hydrate with Cuticle Oil (The Magic Step)

If you only do one thing on this list, make it this. Damaged nails are incredibly dry. Applying cuticle oil replaces the natural moisture stripped away by the acrylic chemicals.
- Buy a cuticle oil containing Jojoba oil. Jojoba oil has small molecules that actually penetrate the nail plate, rather than just sitting on top.
- Apply it 2 to 3 times a day. Massage it gently into your cuticles and the skin around your nails to stimulate blood flow, which encourages nail growth.
Step 4: Use a Quality Nail Strengthener

Not all nail hardeners are created equal. In fact, avoid harsh “nail hardeners” that contain formaldehyde—they can actually make brittle nails snap in half!
- Look for a nail strengthener or treatment base coat that contains keratin, biotin, or calcium.
- Apply a thin layer every other day to protect the peeling layers and bond them together.
Step 5: Moisturize Your Hands Daily

Your nails are an extension of your skin. If your hands are dry, your nails will be dry. After every time you wash your hands, apply a thick hand cream. Look for creams containing Shea butter, glycerin, or ceramides to lock in moisture.
Step 6: Protect Your Nails from Water and Chemicals

Water is the enemy of weak nails. When nails absorb water, they expand; when they dry, they contract. This constant expanding and contracting causes peeling and splitting.
- Always wear rubber gloves when washing dishes or using harsh household cleaning chemicals.
- Keep your hands out of the water while taking long baths or showers.
What to Avoid While Your Nails Heal
To speed up the recovery process, you must stop a few bad habits:
- Stop using your nails as tools: Do not use them to open soda cans, scrape off price tags, or pry things open. Use the pad of your finger or a tool instead.
- Do not bite or pick: Even if a nail is peeling, do not pick at it. Clip it carefully with a nail clipper.
- Avoid acetone: Stick to non-acetone nail polish remover for now. Acetone is incredibly drying and will only make the peeling worse.
How Long Does It Take for Nails to Recover?
Nails grow slowly—about 1/8 of an inch per month. It typically takes 3 to 6 months for a completely damaged nail to grow out entirely from the cuticle to the free edge.
However, if you follow this routine on how to strengthen weak nails after acrylics, you will notice a huge improvement in the strength and smoothness of your new nail growth within just 3 to 4 weeks.
Once your nails have grown out and are healthy again, you can start experimenting with beautiful simple nail art ideas for short nails to show off your natural, strong manicure!
Frequently Asked Questions (FAQs)
Can damaged nails from acrylics be repaired? Yes, absolutely. You cannot “fix” the part of the nail that has already grown out and is damaged, but you can protect it while it grows out. The new nail growing from under your cuticle will be perfectly healthy if you moisturize and protect it.
Will my nails ever be thick again after acrylics? Yes. Once you stop filing the top layer off and start hydrating with jojoba oil and hand cream, your natural nail plate will thicken back up to its normal, healthy state as it grows.
Is it normal for nails to hurt after removing acrylics? If your nails throb or hurt, it is usually due to over-filing with an e-drill during the application process, or an allergic reaction to the acrylic chemicals. If the pain is severe or you see signs of infection (green pus, extreme redness), see a doctor. Otherwise, keeping them clean, short, and moisturized will help the sensitivity fade.
Can I paint my weak nails with regular polish? Yes, but it is best to use a breathable, water-based nail polish while your nails are recovering. Standard nail polish locks out moisture. If you do use regular polish, always use a nourishing base coat first and a non-acetone remover to take it off.
Conclusion
Seeing your natural nails damaged after acrylics can be disheartening, but it is completely fixable. The secret to how to strengthen weak nails after acrylics is simple: keep them short, keep them heavily moisturized with jojoba cuticle oil, protect them from water, and be patient.
Take this time to show your natural nails some love, and before you know it, you will have a strong, healthy foundation ready for your next manicure!