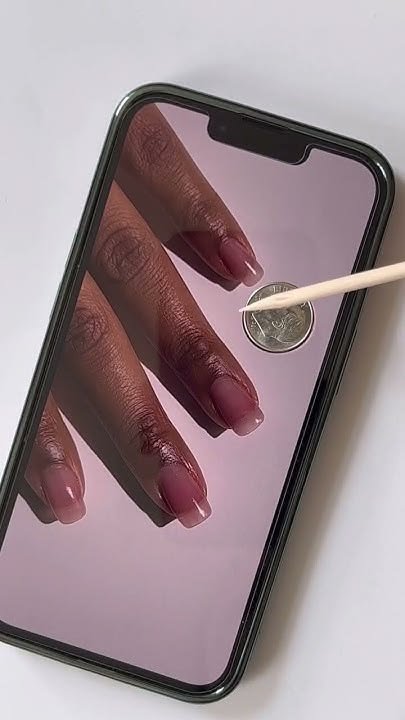
Salon visits can be expensive, and sitting in a nail chair for two hours isn’t always practical. Enter: press-on nails. Today’s press-ons are not the bulky, fake-looking plastics from the early 2000s. Modern options look exactly like gel or acrylic extensions.
However, the biggest complaint people have is that they fall off within a day. The secret isn’t buying expensive nails; it is knowing exactly how to apply press on nails the right way. If you are tired of nails popping off while typing or washing your hands, this step-by-step guide will change your manicure game forever.
What You Will Need Before You Start

Before touching any nails, gather these supplies. Having everything ready prevents the glue from drying out before you can apply the nail.
- A High-Quality Set of Press-On Nails: Make sure you buy a set that comes in multiple sizes.
- Nail Prep Wipe or Rubbing Alcohol: To remove natural oils.
- A Nail File: A glass or crystal file works best.
- Cuticle Pusher: Metal or wooden.
- Nail Glue: A high-quality, brush-on nail glue is a must. (Adhesive tabs are great for a one-night event, but glue is required for long-lasting wear).
- Cuticle Oil or Hand Cream: For the final step.
Step 1: Prep Your Natural Nails (The Most Important Step)

If you skip nail prep, your press-ons will fall off. Period. Natural nails produce oils that repel nail glue.
- Remove any old polish using non-acetone remover (acetone dries out the nail).
- Use your cuticle pusher to gently push back your cuticles. This exposes the entire nail plate, giving the glue more surface area to grip.
- Lightly buff the top of your natural nails with a nail file or buffer block. You just want to remove the shiny top layer; do not file your nails thin.
- Wipe your nails thoroughly with rubbing alcohol or a nail prep wipe. Let them air dry completely.
Step 2: Size and Sort Your Nails
Never glue a nail down without sizing it first. Press-on nail kits come with 12 to 24 nails in various sizes, usually numbered on the back.
- Lay out all the nails in order.
- Place each nail against your natural nail to find the perfect fit.
- Pro Tip: If a nail is slightly too wide, file the sides of the press-on nail (not your natural nail) until it fits perfectly. It should sit flush against your cuticles without overlapping your skin.
Step 3: Apply the Nail Glue
Many beginners make the mistake of putting glue on the press-on nail. For maximum hold, you must put the glue on your natural nail.
- Pick up your first press-on nail and keep it ready in your other hand.
- Take your brush-on nail glue and apply a thin, even layer over your entire natural nail.
- Wait about 5 to 10 seconds. The glue needs to become slightly tacky, not completely wet. If it is too wet, the nail will slide around.
Step 4: Position and Press
Now it is time to apply the nail. You only get one chance to place it correctly before the glue sets.
- Place the press-on nail at a 45-degree angle against your cuticle.
- Roll it down flat onto your natural nail, pushing any air bubbles out toward the tips.
- Once flat, use your thumb to press down hard on the nail for at least 15 to 20 seconds. The friction and pressure activate the glue.
- Repeat this process for all ten fingers.
Step 5: File and Shape
Once all your nails are glued on, they might feel a bit unnatural or sharp at the edges.
- Use your glass file to smooth out the free edges. File in one direction to avoid tearing the plastic.
- If you want to change the shape (for example, from square to almond), gently file the sides and top of the press-on.
- Wash your hands with warm soapy water to remove any sticky glue residue that might have squeezed out the sides.
How to Make Press-On Nails Last Weeks
Now that you know how to apply press on nails, here is how to make them last for two to three weeks:
- Avoid Water for 1 Hour: Do not wash dishes, take a shower, or go swimming for at least an hour after application. The glue needs time to cure completely.
- Open Cans with Tools: Do not use your nails to open soda cans or scrape off labels.
- Wear Gloves for Cleaning: Harsh chemicals in cleaning supplies will break down the nail glue.
- Avoid Oil-Based Products Near the Cuticles: While cuticle oil is great for your skin, if you put it right at the base of the press-on, it will seep underneath and loosen the glue.
How to Safely Remove Press-On Nails
When you are ready to take them off, do not rip them off! Ripping them off will take layers of your natural nail with them, leaving your nails sore and damaged.
- Cut the tips of the press-ons down as short as possible.
- Pour 100% pure acetone into a small glass bowl.
- Warm the acetone slightly (by placing the bowl in a bowl of hot water for a few minutes—never microwave acetone).
- Soak your nails in the warm acetone for 10 to 15 minutes.
- The press-ons will literally melt and slide off. Gently scrape away any remaining residue with a wooden cuticle pusher.
- Wash your hands and apply a heavy cuticle oil to rehydrate your nails.
Frequently Asked Questions (FAQs)
Is it better to use nail glue or adhesive tabs? It depends on how long you want to wear them. Adhesive tabs are great for a 1-day event (like a wedding) because they are damage-free and easy to remove. However, if you want your manicure to last for weeks, brush-on nail glue is the only way to go.
Can I shower with press-on nails? Yes, but you should wait at least 1 to 2 hours after applying them before taking a shower. Once the glue has fully cured, warm water is perfectly fine. Prolonged soaking in hot baths, however, can weaken the glue over time.
Do press-on nails ruin your natural nails? No, the application does not ruin your nails. Damage only happens if you rip the nails off forcefully instead of soaking them off in acetone. As long as you remove them properly, your natural nails will remain healthy and unharmed.
Why do my press-on nails keep falling off? Usually, this happens because the natural nails were not prepped correctly. If you skip the step of wiping your nails with alcohol to remove natural oils, the glue has nothing to grip onto, and the nails will pop off easily.
Conclusion
Achieving a flawless, salon-quality manicure at home is entirely possible once you master the basics. Learning how to apply press on nails correctly comes down to three things: sizing them perfectly, prepping your natural nails to remove oils, and using a high-quality brush-on glue with firm pressure.
Skip the expensive salon appointments, grab your favorite set of press-ons, and give this method a try. You will be amazed at how professional your nails look!